A tartan throw or a tartan blanket are perfect decor items to design your favorite sofa or armchair. It is one of the best items to keep you warm on cold nights. You can make your tartan blanket in your family tartan so that you can family as if your ancestors are holding you.
Our tartan throw blankets are made from the exclusive tartan collection that we hold. You can have this ordered for yourself or send it as a gift. There are various styles and ranges that we deal in. You can use these tartan blankets as a decor item by placing them on your sofas and you may find various throw styles that we will be discussing in our next post. Today, I will be sharing a simple tutorial with you where I will be telling you that how can make a tartan throw.
Table of Contents
How to make a Tartan Throw?
In order to make a proper tartan throw, you need to follow our step by step guide which I have discussed here.
Checkout: How to wear a Fly plaid?
How to make double Sided tartan Blanket?
So let’s first discuss about making a double sided tartan blanket: Follow the below steps;
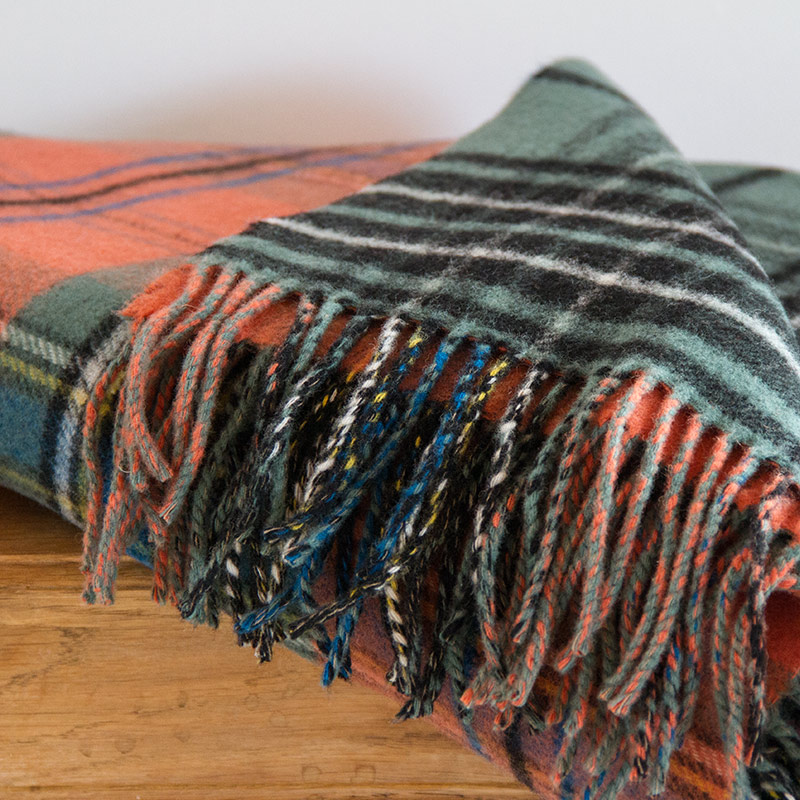
- First of all, you will need to choose the tartan which you will be used for making a double-sided tartan blanket.
- Now you need to measure that how wide and long you want it to be after that just add 2cm to it all the way around for seam allowances. For example: if you are choosing a tartan of the full length of 100cm then you will need the fabric of 104cm along with seam adjustment. You may contact us regarding the length of our tartan collection.
- Moreover, always take the seam allowance for both panels. If you are taking 100 cm and need two pieces then take a total of 200 cm fabric and 30cm plus seam allowance for width requirement.
- If you like to play with these blankets then you may use two different fabrics for fun. There are some people who prefer to use fleece material to add some more comfort to it. If you belong to a warmer climate then I would recommend you to use cotton fabric.
- After selecting the type and size of fabric, you will need to cut the fabric into pieces. I would highly recommend you measure your blanket twice before cutting it. Also, make sure that the front and back pieces are perfectly aligned.
- Now you are supposed to pin the top and bottom pieces of the blanket together on all the sides. Then sew your blanket in a straight line using the 2cm allowance on three sides of your blanket. On the fourth corner, start sewing and stop just 20cm away from the middle of the blanket edge and to the same with the other and then you will have a hole of 40cm in one side.
- Afterward, you are supposed to cut the corners at a 45-degree angle as it will help you get a perfect corner.
- Now turn the blanket right-side out and use pair of closed scissors in order to push the corner and give it a sharp and clean look.
- Afterward, you are supposed to fold the raw edges of the opening into the blanket. You may also use an iron to make it sharp and let the sewing adjust at its place.
How to make a quilted throw?

As now you have a blanket ready; it’s time to add some quilting to hold the top and bottom parts of the blanket. You may use the classic checked lines going across your blanket or you may use any design of quilt of your choice.
I would recommend you to use the chalk to mark your design on one side before sewing it or you may also use few pins along quilting lines so that the fabric remains intact and doesn’t slide away.
See Also: How to Wear Tartan when you are not Scottish?
How to make a patchwork tartan Blanket?
If you are confused about the tartan to choose while making your tartan blanket then you may also use the patches of all of your favorite tartan. I am sharing a method with you where you can place all your favorite tartans on a through.
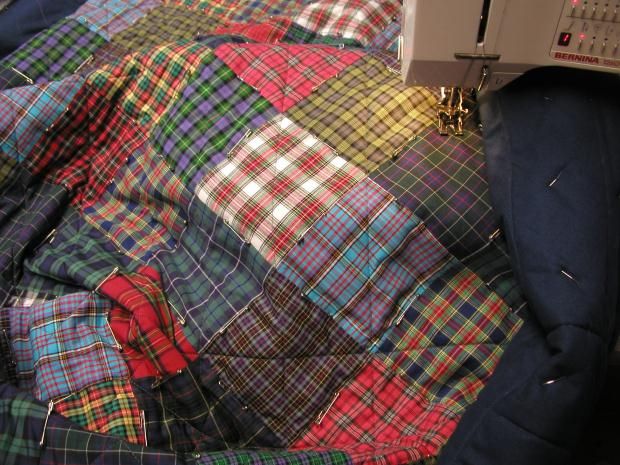
- First, you need to select the size of your blanket; how big you want it to be. Then simply divide it into even squares. For example, if you want your blanket to be 100cm X 100cm then divided it to 10cm X 10cm. You may use then different tartans for these squares making sure the allowance of 1cm for this.
- Now you need to put them in the right layout. Once you have all the squares of your favorite tartans then you are supposed to lay them flat then arrange them as per your likings. You may also take a photo to remember the layout afterward.
- After that, you need to start sewing, you need to use a 1cm seam allowance and start sewing them into rows. Moving in rows will make your task very easy.
- After finishing each row, iron them to settle all the squares.
- When you have all the rows sew together then it is time to stitch them with each other for durability.
- You may use a different fabric on the back of your choice. If you live in colder areas then you may use fleece otherwise use cotton.
How to Make a Picnic Tartan Rug?
If you are the kind of person who likes to go on picnics in summer and loves tartans then having a Picnic tartan rug would be a good choice. If you want to learn that how you can make a picnic tartan rug then follow these simple steps.
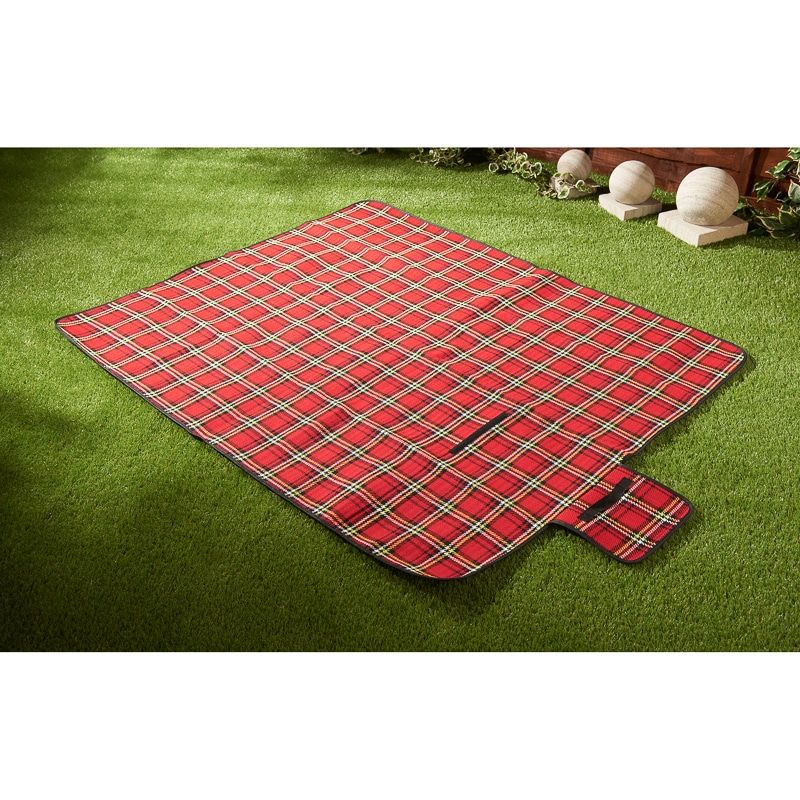
- First of all, choose the tartan you want your rug to be made of. Then choose the size of it.
- You may contact us with the size of the fabric you will be using for the rug. If you want your rug to be waterproof then you will be needing vinyl fabric as well for backing and also a double width bias tape for edging.
- First of all, you need to lay your favorite tartan fabric on top of the waterproof vinyl fabric. Make sure that the right side of both fabrics is together. You are also supposed to line both the fabrics together and pin all four edges ensuring there is no crease.
- Now start sewing the three sides of your blanket and make sure there is an allowance of 2cm.
- At the third edge, leave a 10cm gap in the middle of the seam as we did in a blanket, then cut off the 4 corners on a diagonal for a neater corner. Afterward, you may use closed scissors to push the corners out the right way.
- Afterward, you are supposed to use the bias tape that can be pinned and sewn around all the edges of your rug. It will help in closing the hold in your rug seam and gives it a professional neat look.
- Your rug is finished now!
Conclusion
So this was a tutorial on How to make a tartan throw and I am sure this guide must have been very helpful for you guys. If you want any clarity on these topics then feel free to write to us and we will be more than happy to assist you in making a perfect professional tartan blanket. Or you may hire us to do that for you.
